Sunday, 17 June 2012


Saturday, 16 June 2012
Holy Holes Batman!
Today, I started on the body.
Went to Bunnings, sus'ed out what can be used for the Splitter. Plywood I guess.
I've been hearing that I should use anywhere from 12mm to 7mm.
The Marine Grade 7mm seems to be pretty stiff but was told that Bunnings can't get that in the large sheets that I need. Then again, do I really want to spend that much? Nah, I reckon the non structural 12mm plywood would do the trick - $30...I'll pick it up another day.
So while I was at Bunnings, I picked this up to do some general cutting. Have to trim some bumper and fender bits and having destroyed a couple of rotary tool already (including a dremel - which just couldn't take the heat from trimming fibre glass fenders.).

This tool worked like a dream.
I went from this...

To a little bit cleaned up and trimmed - this

Then I looked over my shoulder and noticed my new set of hole drills..*Uh-Oh*
So, I ended up with this...I guess there's gonna be some ppl who will not like this... :-p

That should get enough air into the radiator. Have removed the lower lip as well as its not going to be needed when the splitter comes on.
--------------------------------------------------------------------------------------------------------
Back to the brakes.
The current position of the reservoirs have always bugged me.Actually, the way the lines ran from the reservoirs to the master cylinders have always bugged me.

Because the supplied lines were a bit long, in its current position, it kinda looped to around the same height of the reservoir.

Rightly or wrong, I just had this feeling that the way its position could impede flow into the reservoir.
So had a long hard think about where to mount, well, I had the new saw tool anyway..soooo....


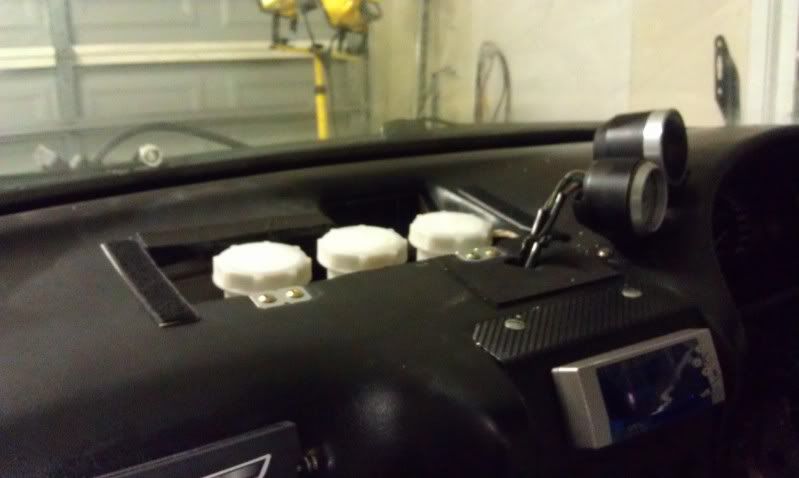
Solves the issue on the piping as well as keeping the reservoirs up high. Have already been told it looks dumb..but meh...don't give a flying f..k.
Went to Bunnings, sus'ed out what can be used for the Splitter. Plywood I guess.
I've been hearing that I should use anywhere from 12mm to 7mm.
The Marine Grade 7mm seems to be pretty stiff but was told that Bunnings can't get that in the large sheets that I need. Then again, do I really want to spend that much? Nah, I reckon the non structural 12mm plywood would do the trick - $30...I'll pick it up another day.
So while I was at Bunnings, I picked this up to do some general cutting. Have to trim some bumper and fender bits and having destroyed a couple of rotary tool already (including a dremel - which just couldn't take the heat from trimming fibre glass fenders.).
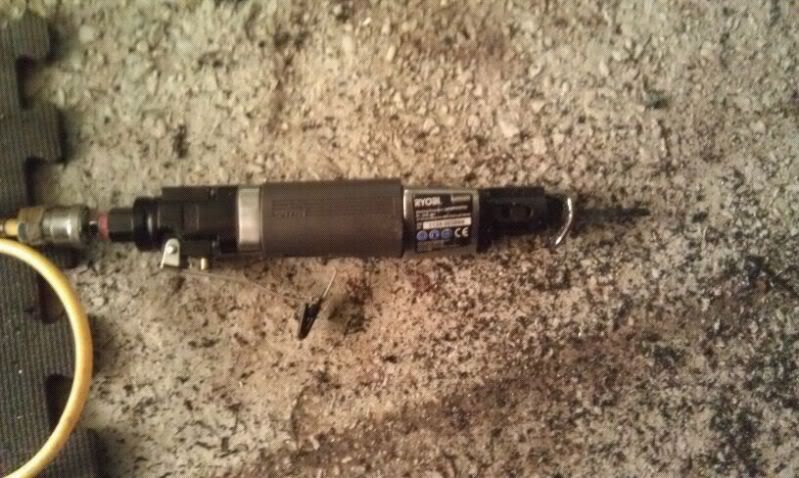
This tool worked like a dream.
I went from this...
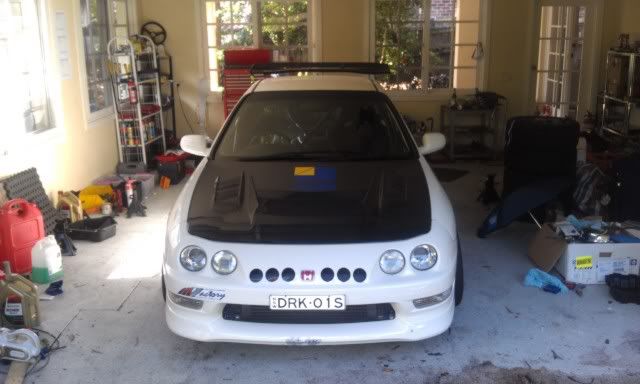
To a little bit cleaned up and trimmed - this
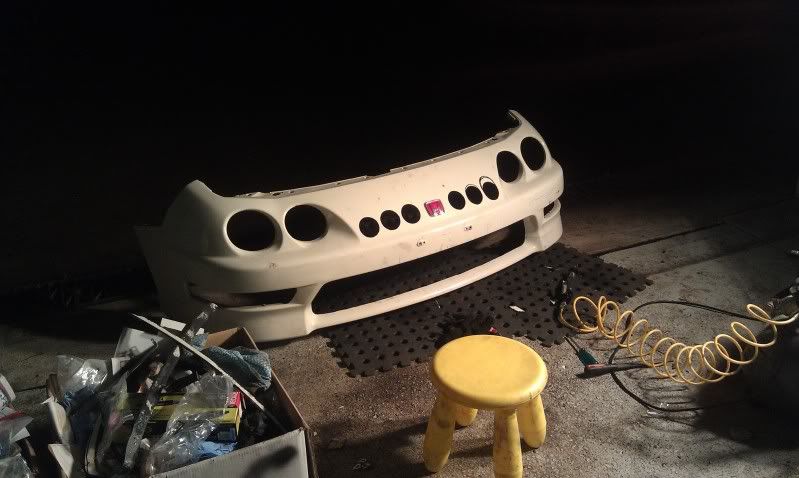
Then I looked over my shoulder and noticed my new set of hole drills..*Uh-Oh*
So, I ended up with this...I guess there's gonna be some ppl who will not like this... :-p
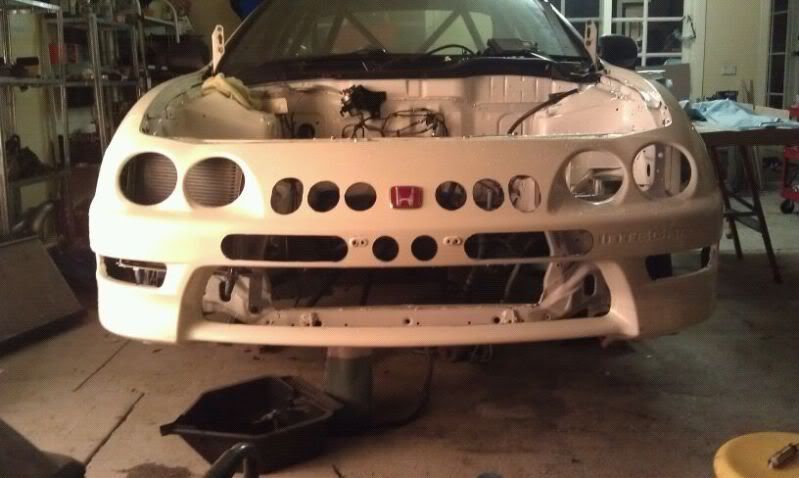
That should get enough air into the radiator. Have removed the lower lip as well as its not going to be needed when the splitter comes on.
--------------------------------------------------------------------------------------------------------
Back to the brakes.
The current position of the reservoirs have always bugged me.Actually, the way the lines ran from the reservoirs to the master cylinders have always bugged me.
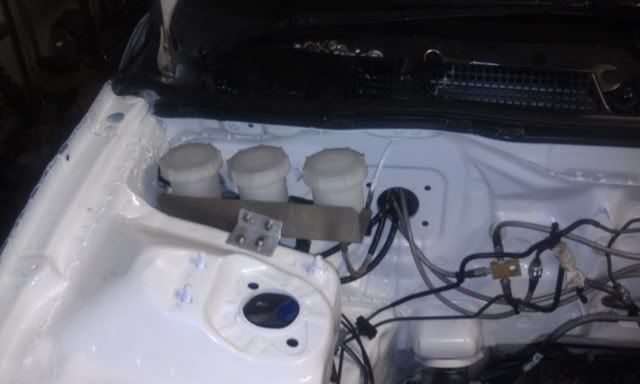
Because the supplied lines were a bit long, in its current position, it kinda looped to around the same height of the reservoir.

Rightly or wrong, I just had this feeling that the way its position could impede flow into the reservoir.
So had a long hard think about where to mount, well, I had the new saw tool anyway..soooo....
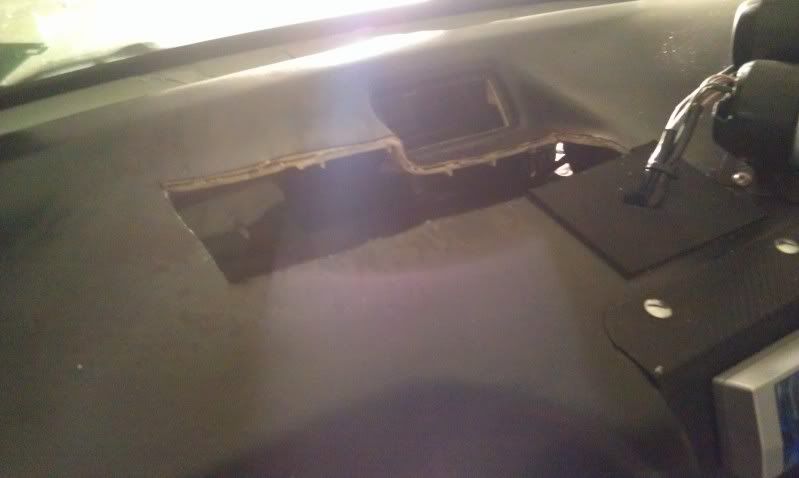
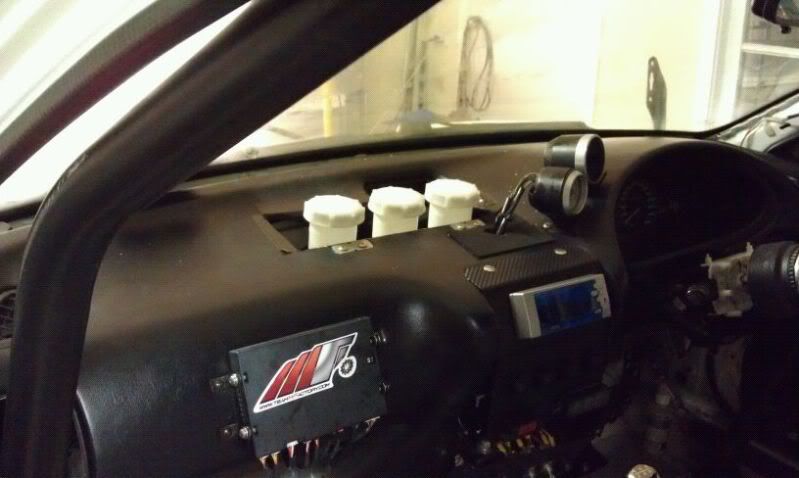
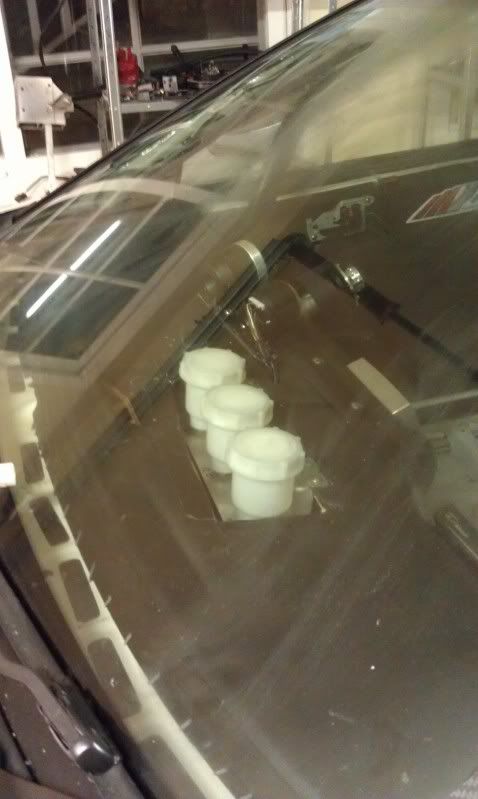
Solves the issue on the piping as well as keeping the reservoirs up high. Have already been told it looks dumb..but meh...don't give a flying f..k.
Saturday, 9 June 2012
Nibbling away
Installed the oil cooler in the only other place I can think off where it's in the airflow.
Usually run the oil cooler right behind the Intercooler but now with a larger rad which will be pushed against the intercooler, this seems to be the other most logical space. Just don't drive the car at night, or hope there's no solar eclipse on the days it gets driven.


Later today (Yep, its sunday), I'll add ducting to ensure direct airlow onto the cooler.
And oh, look! Drive Shafts, courtesy of MFactory

Usually run the oil cooler right behind the Intercooler but now with a larger rad which will be pushed against the intercooler, this seems to be the other most logical space. Just don't drive the car at night, or hope there's no solar eclipse on the days it gets driven.
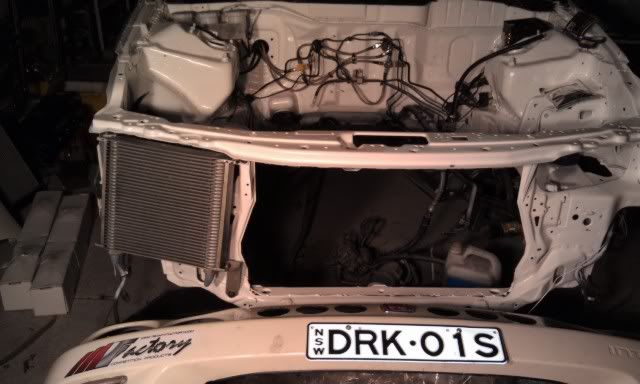
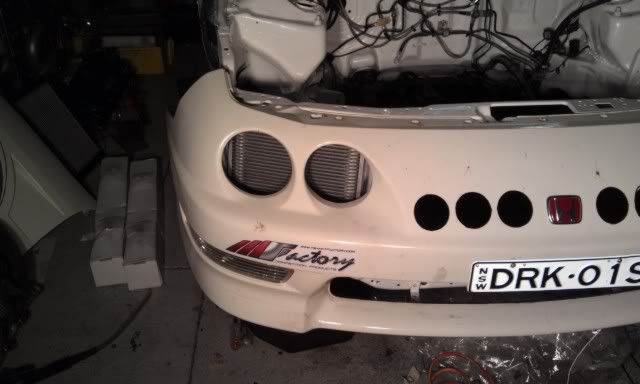
Later today (Yep, its sunday), I'll add ducting to ensure direct airlow onto the cooler.
And oh, look! Drive Shafts, courtesy of MFactory
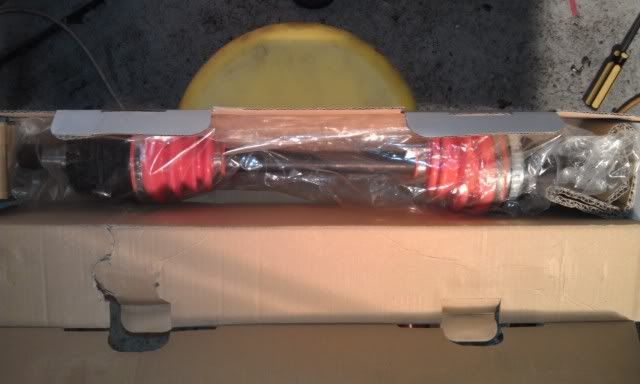
- Made from imported Japanese Steel
- Axle Shafts & 10% larger 6-Ball CV Joints Forged from High-Nickel Chromoly Steel & put through our proprietary heat treatment process
- Hollow center shaft core reduces rotational weight by 30%!
- High quality Silicone CV Boots to minimize the ripping or tearing normally associated with cheap rubber boots
- 100% OEM replacement/fitment and includes new ABS Rings
Started work on the engine
This week also saw work starting on the engine.
This is the bit that I'm most worried about - Not about touching the internals but more so of what this engine is. I just don't want to fuck it up. Fortunately Adrian's going to come around to help out. He originally built it anyway.

Step 1:
Prepare a table to store the parts.

Step 2:
Dis-assemble the cams. Toda Spec Cs.

Step 3:
Un-torque the head.

and off comes the head

Finally, everything laid out nicely.

Next steps - clean up the block.
This is the bit that I'm most worried about - Not about touching the internals but more so of what this engine is. I just don't want to fuck it up. Fortunately Adrian's going to come around to help out. He originally built it anyway.
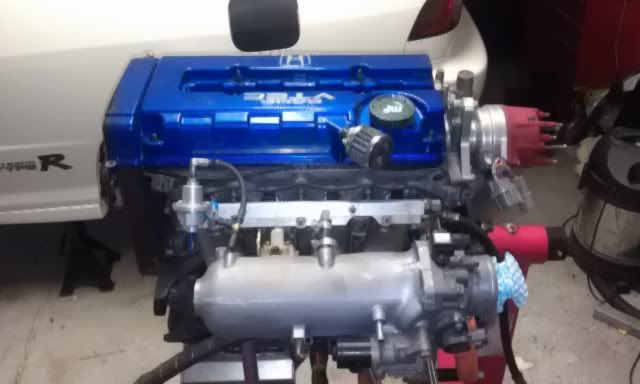
Step 1:
Prepare a table to store the parts.
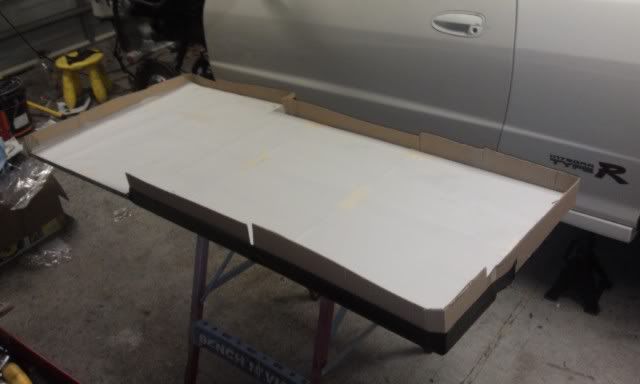
Step 2:
Dis-assemble the cams. Toda Spec Cs.
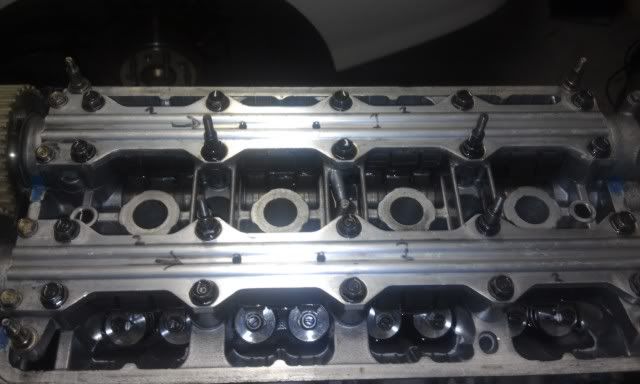
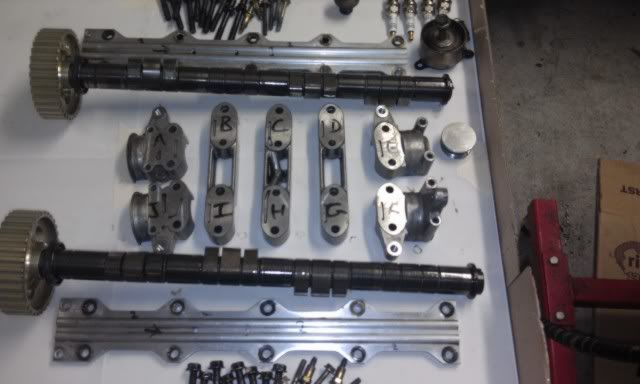 |
| Making sure everything is correctly marked for easier re-assembly. |
Un-torque the head.
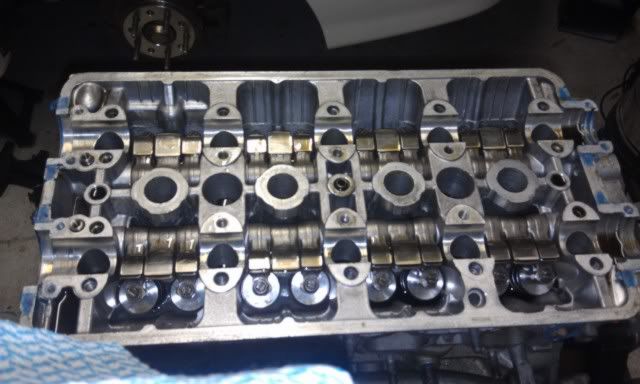
and off comes the head
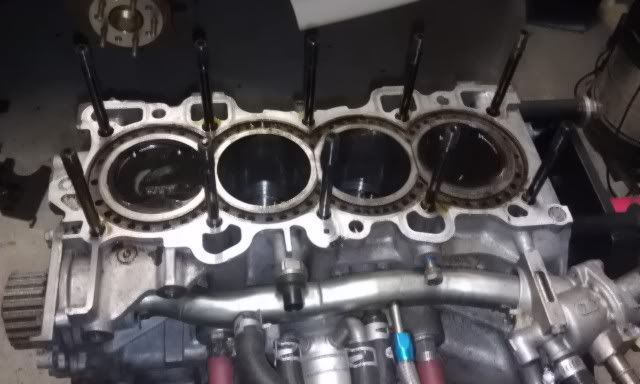
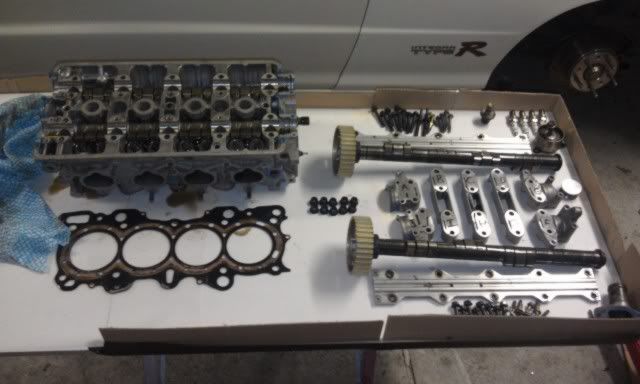
Next steps - clean up the block.
Its cold in Sydney
It's been really cold and I'm fighting off something.
Well, good news is, I've settled on a radiator.
Its a tucked radiator unit from Chasebays:
https://www.chasebays.com/product/acura-integra/cooling/chase-bays-tucked-aluminum-radiator


Well, good news is, I've settled on a radiator.
Its a tucked radiator unit from Chasebays:
https://www.chasebays.com/product/acura-integra/cooling/chase-bays-tucked-aluminum-radiator
It's alot cheaper than getting one fabricate locally and slightly cheaper than getting one fabricated in China as this unit will come with 2 electric fans.
To aid cooling, its what they call a dual pass radiator - "What's dual pass design? This simply means the coolant passes through TWO times instead of ONE. Which, even more simply put means TWICE the cooling and half the size. Both inlets are on the same side of the radiator and a plate is welded inside between the two inlets."

I think this should work really well.
Sunday, 3 June 2012
It is Monday Now!!!
T'was quite a productive weekend.
Caught up with a very good friend who had just bought a restaurant and lunch there. It was really good.
I can't believe I'm saying this but I actually had so much yummy prosciutto that I don't think I want sommore for another month. LOL.
Sydneysiders, if you're interested:
http://www.cavallino.com.au/
So, what else did I do?
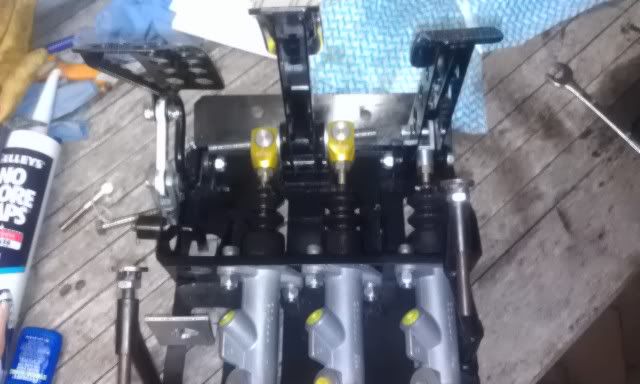
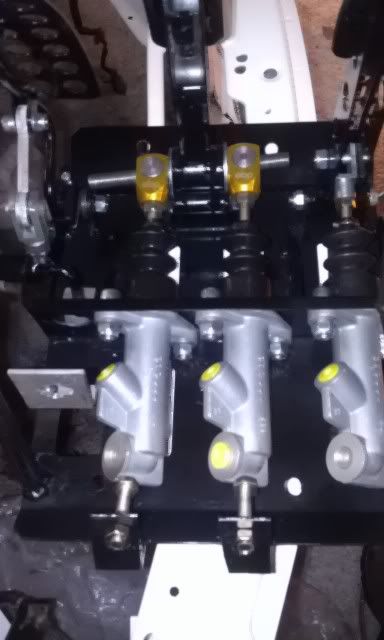
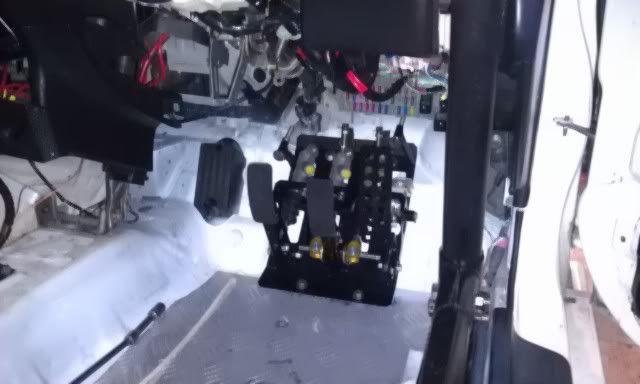
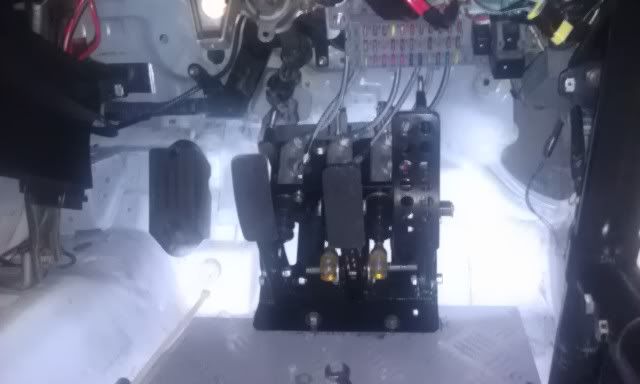
I did complete the pedal box and get the fittings in! Yay! The braking and clutch system is now completed.
a. Fitting the Master pumps

b. Adjusting the Brake Balance bar - This wasn't easy for me and I hope I got it right.
c. Bolted in place in the car

d. The Spider web of lines linking the pumps to the OEM brake lines.

e. Mounting the reservoirs
f. Everything hooked up

Ok, tired now, sleep.
Caught up with a very good friend who had just bought a restaurant and lunch there. It was really good.
I can't believe I'm saying this but I actually had so much yummy prosciutto that I don't think I want sommore for another month. LOL.
Sydneysiders, if you're interested:
http://www.cavallino.com.au/
So, what else did I do?
I did complete the pedal box and get the fittings in! Yay! The braking and clutch system is now completed.
a. Fitting the Master pumps
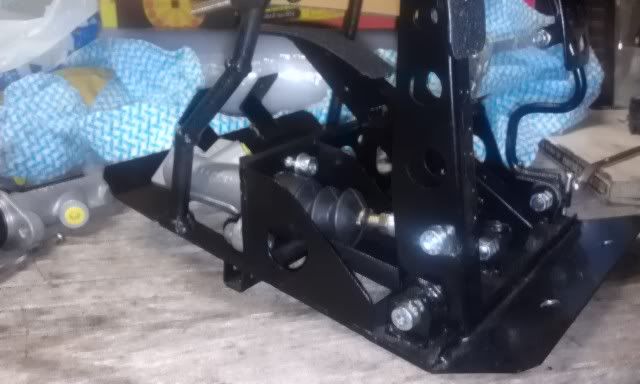
b. Adjusting the Brake Balance bar - This wasn't easy for me and I hope I got it right.
 |
| And no, I did not use the No More Gaps.... |
 |
| Seen here with the Pump Brace |
c. Bolted in place in the car
d. The Spider web of lines linking the pumps to the OEM brake lines.

e. Mounting the reservoirs
|
| From left to right, Clutch, Front Brake, Rear Brake |
Ok, tired now, sleep.
Tomorrow is Monday
Some news on the radiator.
Contacted a second so called manufacturer and they said yup, they're a manufacturer so they can make it.
So I send them the design.

How difficult can this be? Just a simple rectangle and a couple of inlets and outlets.
Oh no, they say, you need to send us a picture of the radiator...Huh? WTF. The reason why I;m asking them to manufacture one is because...I don't fucking have one to begin with, much less a picture of one.
Ok, Ok, grabbed a picture off they website, modified it abit using paint.... Yup, exactly like this, I want.

And for good measure, I added additional pictures of where I want this to sit.


What do I get?
"dear sir,
i have asked our producing,i'm so sorry i couldn't help you,we couldn't change it for you,because it si so trouble,it almost to make a new model,it will take about 50 days,need new core,make new darwing,then wait to producing,so sorry for it again."
Contacted a second so called manufacturer and they said yup, they're a manufacturer so they can make it.
So I send them the design.

How difficult can this be? Just a simple rectangle and a couple of inlets and outlets.
Oh no, they say, you need to send us a picture of the radiator...Huh? WTF. The reason why I;m asking them to manufacture one is because...I don't fucking have one to begin with, much less a picture of one.
Ok, Ok, grabbed a picture off they website, modified it abit using paint.... Yup, exactly like this, I want.

And for good measure, I added additional pictures of where I want this to sit.


"dear sir,
i have asked our producing,i'm so sorry i couldn't help you,we couldn't change it for you,because it si so trouble,it almost to make a new model,it will take about 50 days,need new core,make new darwing,then wait to producing,so sorry for it again."
I am freaking done with asking these Ebay shops for a custom unit, its like chicken and duck talk.
"t almost to make a new model" Hell yeah - I do want a new model, that's the whole point isn't it.. geez...I give up. It's like chicken and duck talk.
So now what? Get one locally made for >$1K and I have to admit, spoke to a couple of fabricators here and they do know their stuff. However, budget's the problem.
Spending a whole night searching ebay and I've finally found one that will do the job. A radiator off the Dodge Neon, 97-99 model.
Subscribe to:
Posts (Atom)